

Where to Find Each Setting
On your Tests page, click Settings next to the test, then choose a section.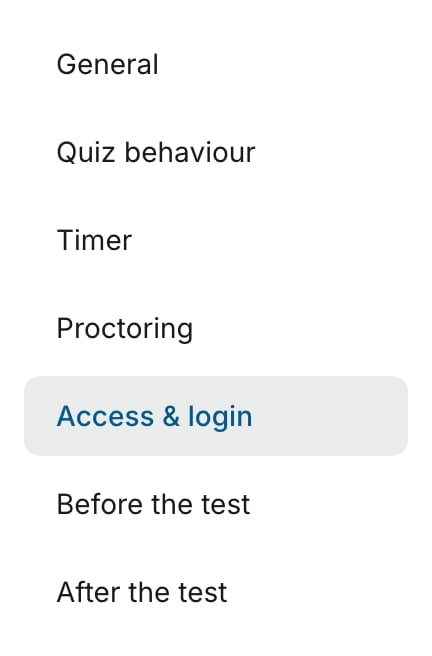
A setting that your plan does not include shows a Premium or Elite badge. Click Save settings after changing any section.
Access & Login
The controls you see depend on the quiz provider of the test.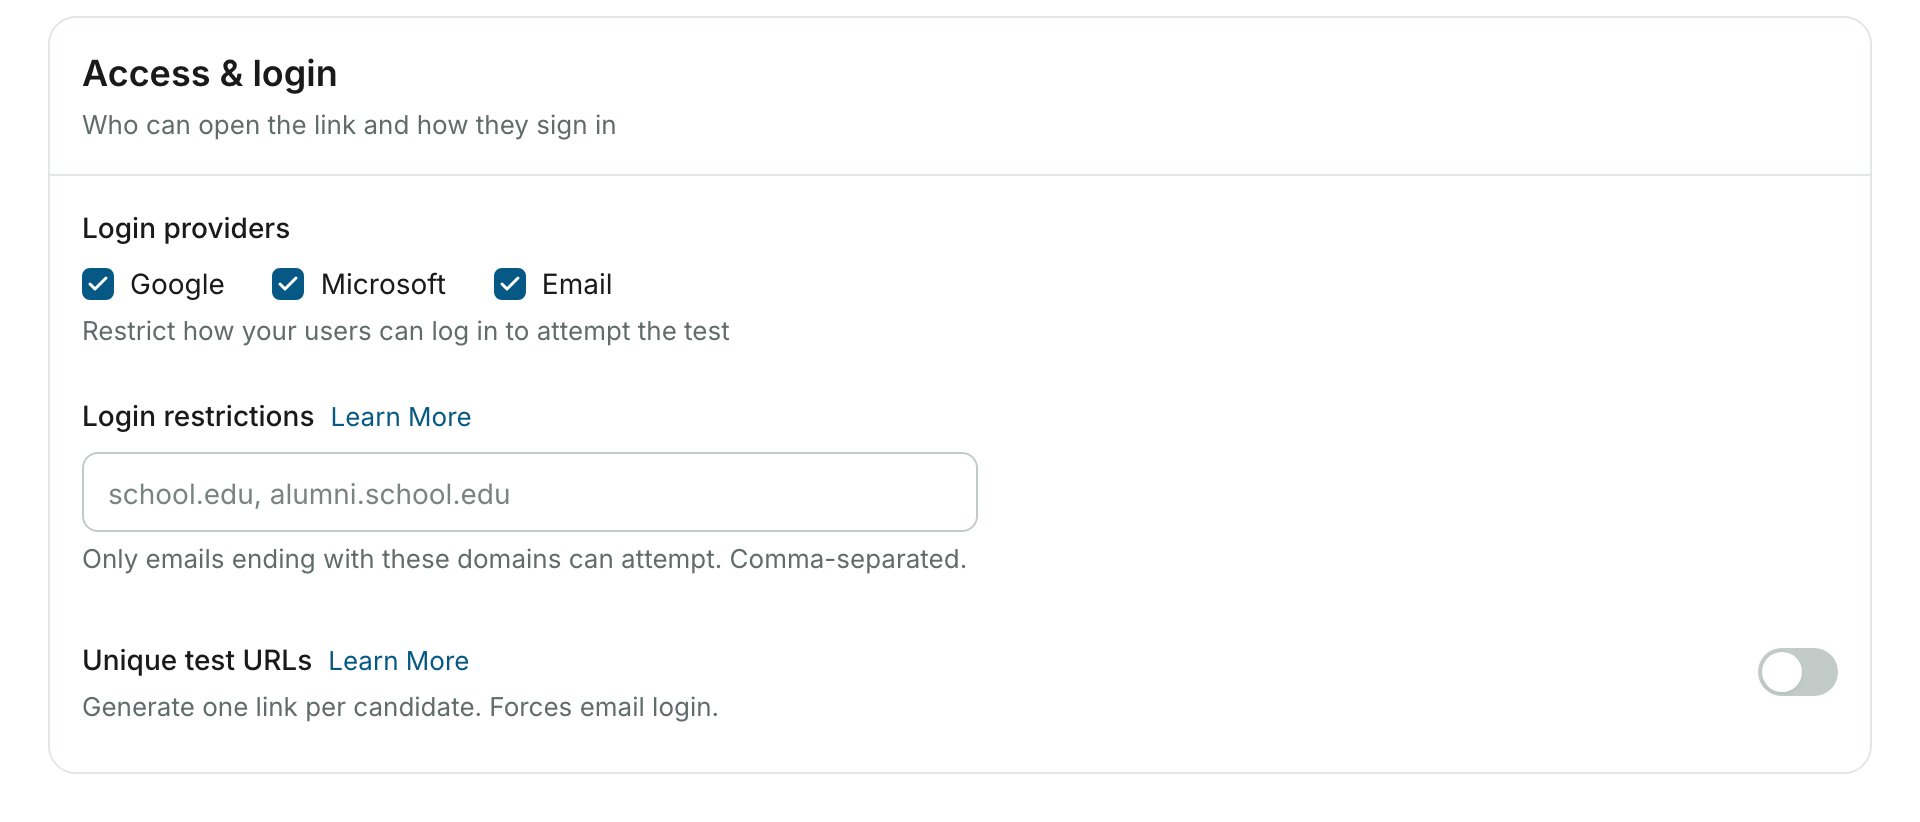
Login Providers
Choose which methods candidates can use to sign in to your test:
See Candidate Login Methods for how each login method works.
Login Restrictions
Login restrictions limit the test to specific email addresses or domains, such as@university.edu. Enter them in the field, separated by commas. The field holds up to 30 entries, so for a longer list use unique test URLs.
For detailed instructions, see Restricting by Email.
Unique Test URLs (Elite)
By default, all candidates share one test link, which could be forwarded to unintended recipients. Unique test URLs gives each candidate their own link, so only the people you share links with can take the test. Turning it on forces email login. Once the setting is saved, a Generate unique links link appears under the switch.Unique test URLs work with Socratease Quizzes and IFrame Tests. Do not turn the switch on for a Google Forms or Microsoft Forms test, because those tests need the sign-in of their own platform. See Inviting Candidates via Email for the full process and Elite Features for plan details.
IFrame Height and Width
iFrame height sets the height of the embedded test in pixels. The default is 1764. Increase it if your test content is cut off, or decrease it to remove extra whitespace. iFrame width sets the maximum width of the area that holds your test. Both fields appear only for IFrame tests.
Query String
The Query string is appended to the test URL when the test loads, for examplea=b&c=d. See IFrame Query Arguments for how to use it.
Before the Test
These settings change the instructions page, which is the page your test link opens before the quiz.Collect Candidate Details (Premium)
You can add up to 10 fields per test, and every field is required. The collected data is available in results and exports.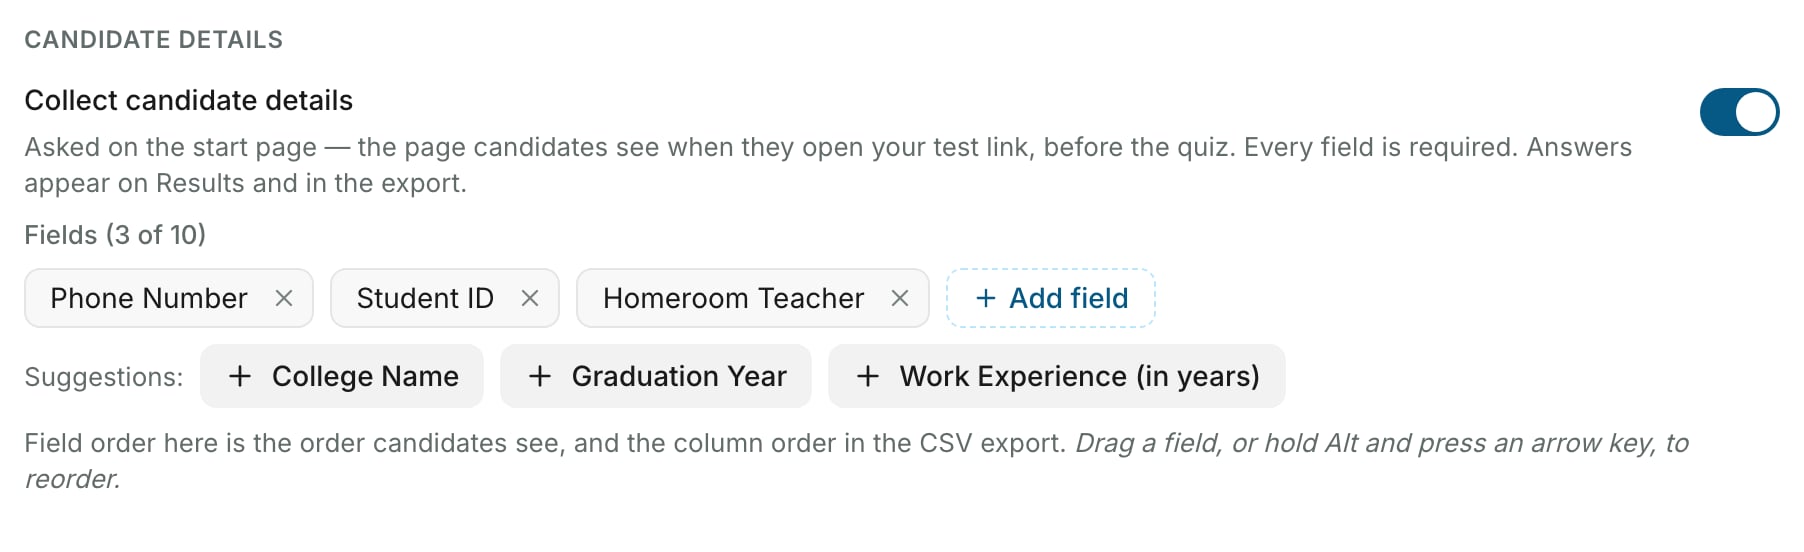
Show Additional Instructions (Elite)
The instructions are plain text of up to 200 words. See the Instructions Page for Candidates for what candidates see before starting.After the Test
On Test Completion (Premium)
All plans show the standard AutoProctor completion page. Premium and above can choose one of two other options: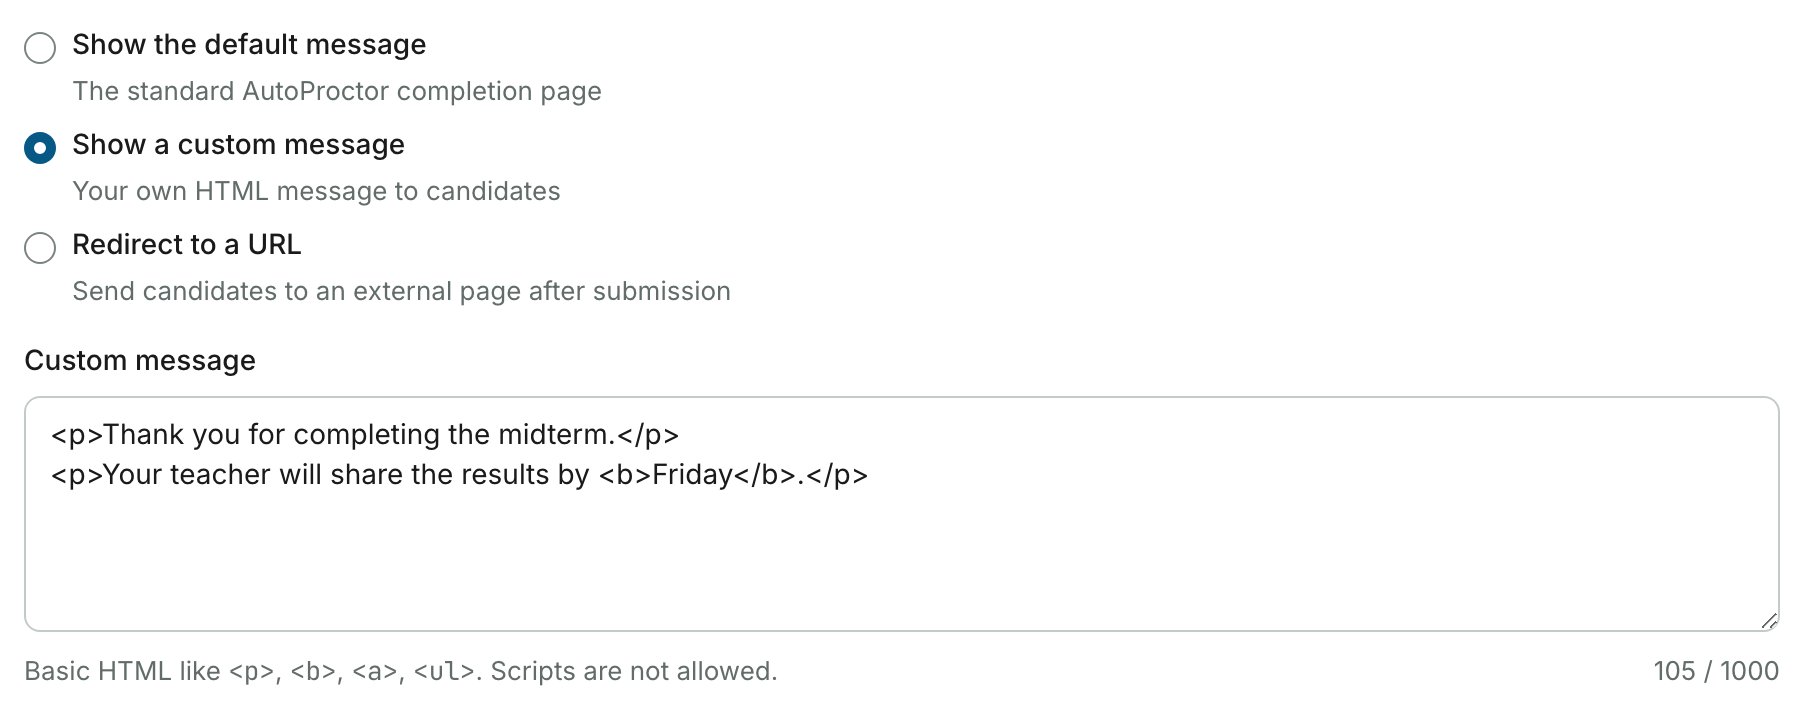
Send Results to a Google Sheet (Premium)
Paste a sheet’s link into Send results to a Google Sheet to write test results to it automatically. Socratease quizzes export both proctoring results and quiz scores. Other quizzes export proctoring results only. For setup instructions, see Google Sheets Integration.Collaborators
Collaborators can edit the test’s settings and view its results. Click Manage on the collaborators card at the top of the Settings page to copy the Collaborate link, remove a collaborator, or set the test’s primary admin.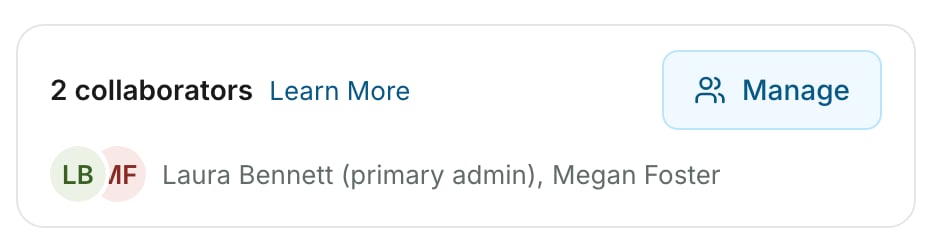
Related Resources
- Timer Settings - Configure test duration and time windows
- Proctoring Settings - Camera, microphone, and tab-switching options
- Restricting by Email - Restrict test access by email address or domain
- Inviting Candidates via Email - Send test invitations directly
- Candidate Login Methods - How each login method works
- Google Sheets Integration - Auto-export results to spreadsheets