

How to Set Up Email Restrictions
1
Open the Access & login Section
Go to your Tests page, click Settings next to the test, and choose Access & login from the list of sections.
2
Add Domain or Email Restrictions
In Login restrictions, enter the email domains or specific email addresses you want to allow, separated by commas. You can combine both types in the same field (see the examples below).
3
Save
Click Save settings.
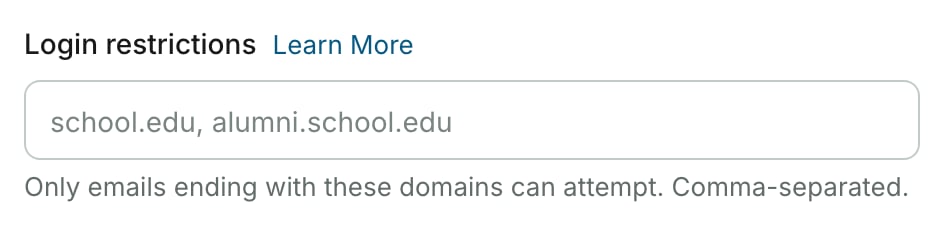
The Login restrictions field before anything is entered
Domain-Based Restrictions
You can restrict access to candidates whose email addresses end with specific domains. For example, entering@abc.com and @xyz.com allows only candidates with those email domains to take the test.
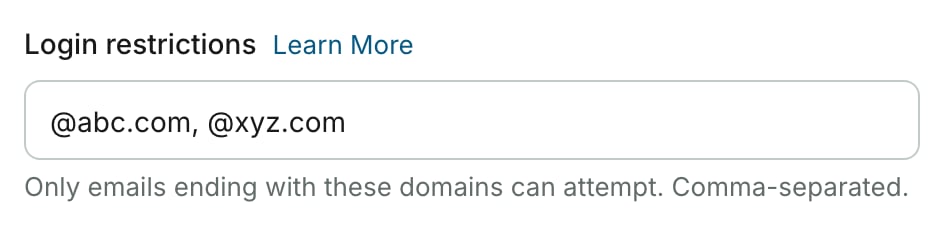
Two domains entered in Login restrictions
Specific Email Restrictions
You can also permit individual email addresses alongside domain restrictions. This is useful when most candidates share a domain but a few external participants need access. For example, you can allow all users whose email ends with@abc.com plus specific individual email addresses like guest@gmail.com.
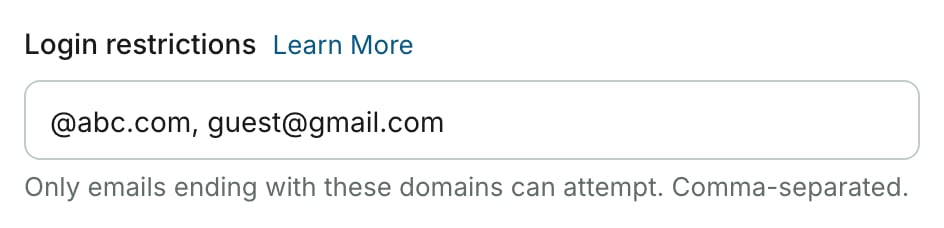
A domain and one specific email address in Login restrictions
Email restrictions work in conjunction with the candidate’s login method. The candidate must sign in with an email address that matches one of the allowed domains or addresses you specified.
Related Resources
- Candidate Login Methods - Understand available authentication options for candidates
- Restricting to Specific Users - Other methods for limiting test access
- Inviting Candidates via Email - Generate unique per-candidate test links
- Advanced Settings - Configure Login restrictions and other advanced test options
- Best Practices for Test Creators - Tips for smooth test administration