

How to Configure Proctoring
1
Open the Proctoring Section
Go to your Tests page, click Settings next to the test, and choose Proctoring from the list of sections.
2
Turn Proctoring On
Turn on the switch at the top right of the Proctoring section.
3
Choose Your Settings and Save
Turn on the checks you need under What gets tracked, Enhanced proctoring and Who is informed. Each group is described below. Then click Save settings.
What Gets Tracked
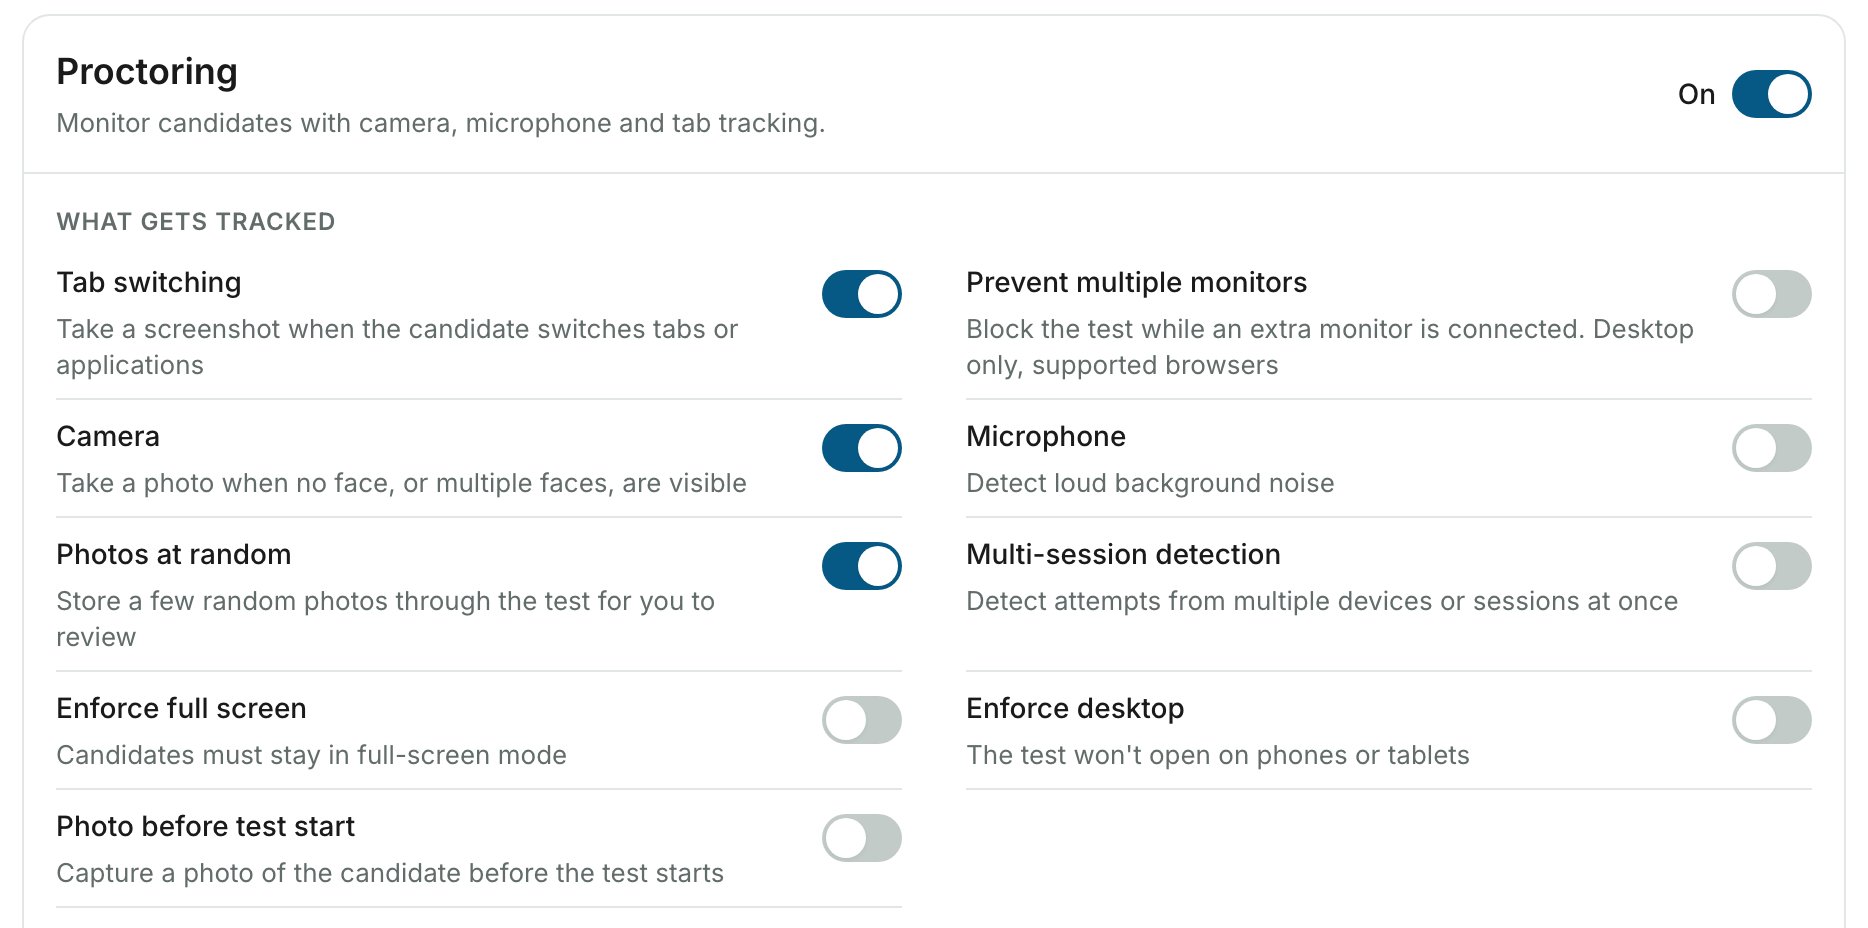
Customize the photo prompt
When Photo before test start is on, a Customize the photo prompt switch appears below it. Turn it on to replace the default “Look directly at the camera…” message with your own text, up to 200 characters. Use this to ask candidates to show their ID card in the photo, for example “Please show your face along with your student ID”.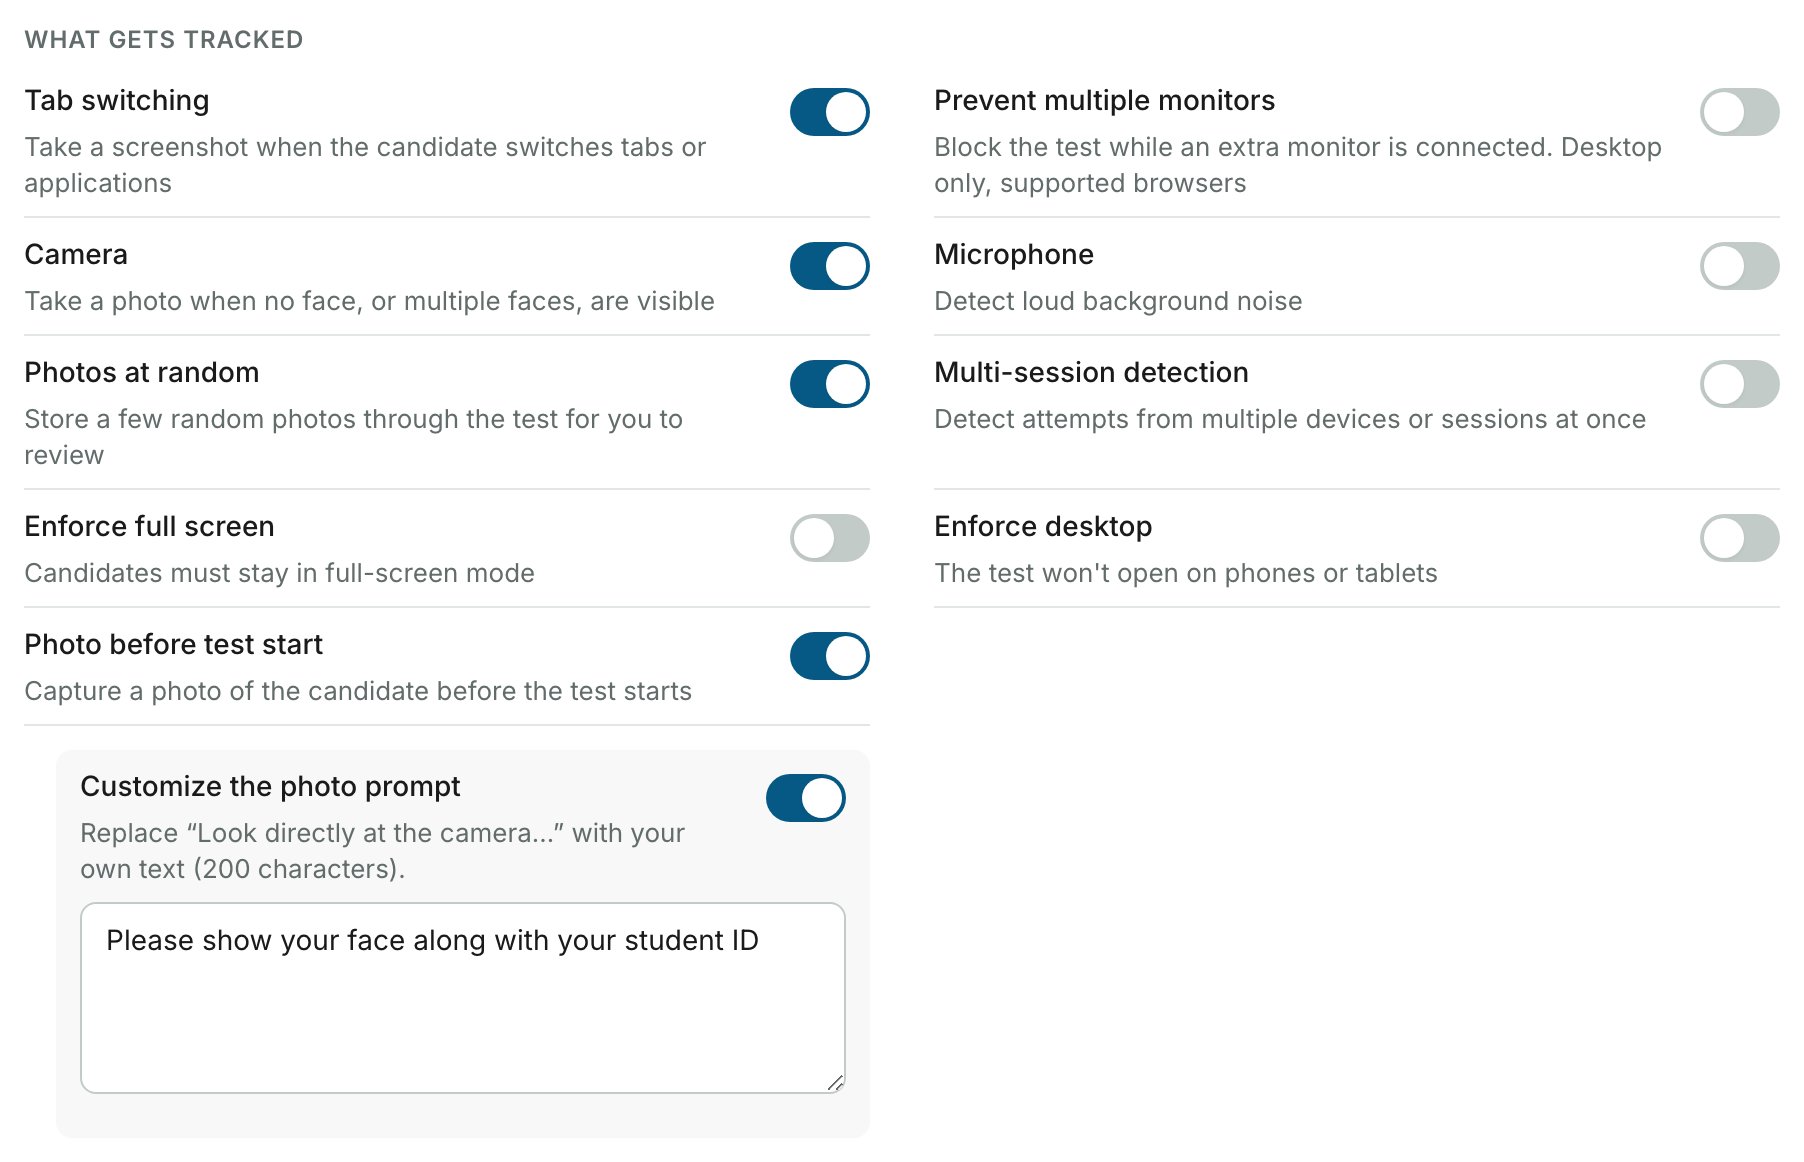
Customize the photo prompt is an Elite feature. See Feature Comparison for plan details.
Enhanced Proctoring
Each enhanced option costs extra credits per attempt, on top of the 1 base credit of a proctored attempt. See Enhanced Proctoring for the full setup guide.Who Is Informed
Related Resources
- Timer Settings - Configure test duration and time windows
- Enhanced Proctoring - Detailed guide on ID verification, impersonation detection, and 360° proctoring
- Quiz Settings - Settings specific to Socratease quizzes
- What Gets Tracked - Complete list of everything AutoProctor monitors
- Proctoring Results - How to review proctoring data after a test
- Trust Score - How the trust score is calculated from proctoring data