

Cancel Your Subscription
1
Open the Subscription & Billing Page
Click Billing in the sidebar to open the Subscription & Billing page.
2
Click Manage subscription
Click Manage subscription at the top right. The billing portal opens in a new tab.
3
Cancel the Plan
In the billing portal, click Cancel plan.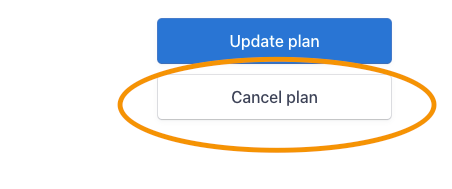
If you are part of a Team, only a Team Admin can cancel the subscription. Regular team members do not see Billing in the sidebar.
What Happens After Cancellation
Frequently Asked Questions
Are my tests and data retained after cancellation?
Are my tests and data retained after cancellation?
Yes. The tests you created and their settings are not deleted. However, you cannot access the full results of those tests until you resubscribe.
Can I resubscribe after cancellation?
Can I resubscribe after cancellation?
Yes. Click Subscribe again on the Overview tab of the Subscription & Billing page, or below the credits card in the sidebar, and choose a plan. You can use your account again right away.
Can I undo a scheduled cancellation?
Can I undo a scheduled cancellation?
Yes, until the subscription expires. Click Manage subscription on the Subscription & Billing page and reverse the scheduled cancellation in the billing portal.
Related Resources
- Payments and Credits Explained - Understand how credits and billing work
- One-Time Subscription - Use AutoProctor for a single event
- Editing Billing Information - Update payment details before renewal
- Invoices for Payments - Download invoices before your subscription expires
- Contact Us - Get help with cancellation issues